

Thursday, July 23, 2015
Geisha girl complete (forgotten photo)
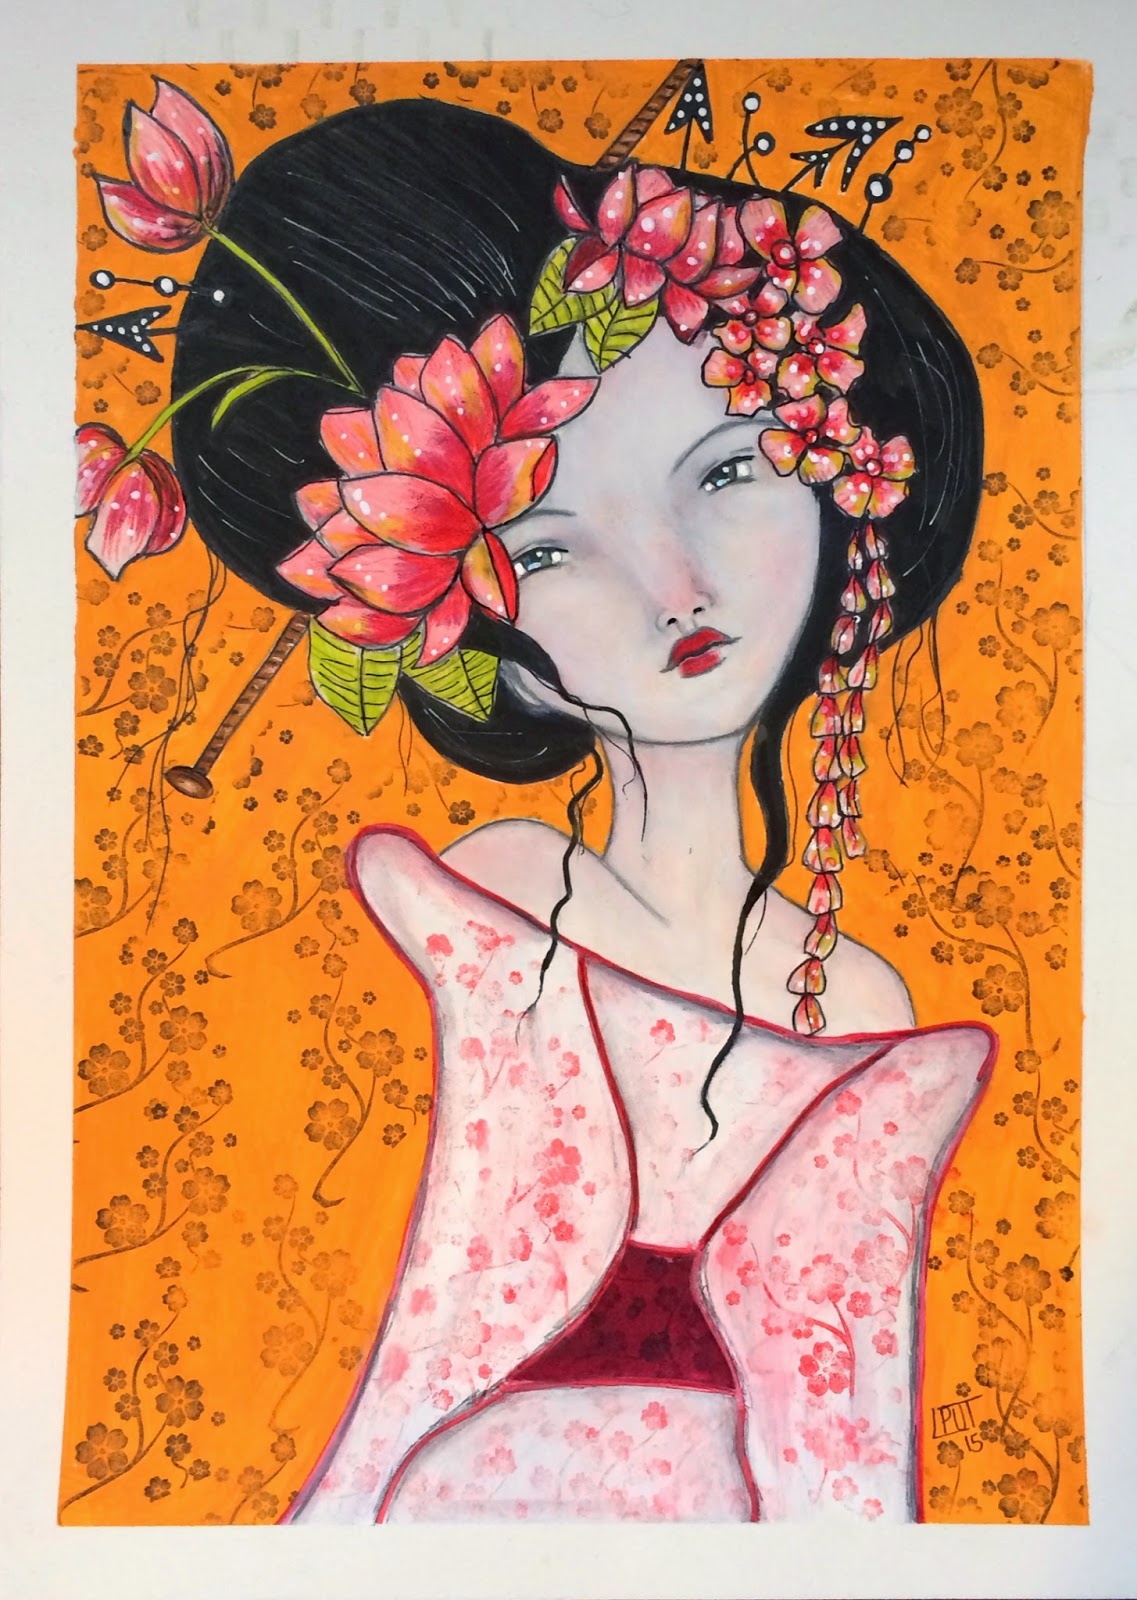
I didn't realize I never posted the finished photo of this Geisha Girl. Sadly I haven't been able to draw much lately since I started my new job. I miss it terribly but just haven't had the time. When I do have the time I have no inspiration. I am hoping soon I will be back to drawing. Until then here is my last Geisha Girl completed.


Sunday, January 18, 2015
Geisha Girl #3 complete
Another lovely Sunday spent in the studio. Finished up Geisha Girl #3. She was created on water color paper using acrylics, Neo Color II, Gelato's, Big Pitt Pen, Prisma Pencils, Posca Pens, Stamps and Ink. I used a decorative tissue paper for the dress. Just like always everything but the kitchen sink!

Hope you like the newest addition.
L
Hope you like the newest addition.
L
Friday, January 9, 2015
Geisha Girl #2 Complete
Just finished up 2 of 4 of my new girls. She looks like the younger sister to the first one.
 To create her I used Neo color II, Gelatos, Prisma pencils, Pitt pen (for the hair), acrylics, white Sharpie marker, Posca pens, inks, stamps and Dylusions spray ink. Umm I think that's it! Ha. I really do love my art supplies. Hope you enjoy what I have created.
Lesa
Lesa
Monday, January 5, 2015
Starting out 2015 Geisha style
As 2014 was winding down I found no time to create which doesn't make for a very happy girl. Thank goodness for time off! It gave me a chance to start creating again.
Exploring the internet mostly Pinterest (totally addicting!) I found some photos of Geisha's and knew I had to create some of my girls Geisha style. I drew up 4 girls to start my new series and I am so excited to bring them to life with color!
Here is one of my sketches.


Exploring the internet mostly Pinterest (totally addicting!) I found some photos of Geisha's and knew I had to create some of my girls Geisha style. I drew up 4 girls to start my new series and I am so excited to bring them to life with color!
Here is one of my sketches.
I started adding color to the last girl I drew. I used a big pitt pen for her hair and Neo II colors, Gelatos and Golden's Titanium White acrylic paint for her skin.
I started coloring in the flowers with neon Montana markers but didn't like how it looked.
So like I tell the kids I teach, it's not a mistake just another direction, I covered it up and went a total different way with the flowers.
Using a white Sharpie paint pen I drew in the flowers. I love the contrast of the white outlines on the black hair. I used Washi tape to create her dress. The background was colored in with acrylic and stamped with flowers and butterflies.
On to the next Geisha Girl. Here is her #WIP.
Thanks for stopping by to check out what I have been up to. I hope to be posting more often now that the holiday's are over.
Happy 2015! May you have many happy days to create!
xo
Sunday, November 2, 2014
Tweedle Dee Tweedle Dum
Slowly but surely I have been making progress with my latest piece. In keeping with the theme of Alice in Wonderland I created the twins.
I first started by drawing my girl in my sketch book.

 Next, I started painting their faces and body. I used water color crayons, Titian Buff Golden acrylics, neon red Golden acrylics , pencil, Montana Markers in neon and large Pitt Pens in black and white.


 Its hard to see but I used a stamp and ink pad in black for the background but then lightly painted over it so setting it into the background. I applied the arrow stencil with orange acrylic paint in the background as well. I used some grafite on the dress to cast shadows and dirty it up then I added bows and a pearl flat sticky back bead as well as a crystal on top of their propellers for the finishing touch.
 Here is the finished version of my girls. I love the brightly colored hair with the contrast of the yellow background and black and white stripped shirts.
I first started by drawing my girl in my sketch book.
Then I transferred my girl onto a piece of masonite board using carbon paper then traced her with tracing paper so that I had a flipped version of her to transfer to the other side. A mirror image of the girl!
I used a stencil and Golden Glass Bead Gel and a stencil for texture on their dresses and some on the background. Next yellow acrylic paint was used on the background.
Terminator costume..... I'll be back
For Halloween this year my son wanted to dress up as the Terminator. Yes, my 9 year old loves Terminator movies thanks to my husband introducing them to him.
So I went on a search through Pinterest and Youtube to figure out how to make this costume come alive. There are some really great "how to create a cyborg costume" on youtube that helped me figure out what I wanted to do. I bought some face paint, fake blood and grabbed my tacky glue and went to work.
 I ordered a cyborg prosthetic from amazon that said it was kid size but it was more like adult so I cut it down to size and used sprit gum to adhere it to his face. Then I used Tacky Glue around the edges to seal it and to make it look like torn skin. On his hand I used the tacky glue to outline the opening and then used grey, black and white face paint to create the inside of the hand. I did the same thing on the other side of his face. Then I dabbed fake blood all around the glue.
For the finishing touches I took a pair of 80's style sunglasses and a red finger laser light and attached the laser light to the side of the glasses with sticky back velcro. I found a jacket in his size on amazon and bought a toy shot gun. A little spike of the hair and we were done!

So I went on a search through Pinterest and Youtube to figure out how to make this costume come alive. There are some really great "how to create a cyborg costume" on youtube that helped me figure out what I wanted to do. I bought some face paint, fake blood and grabbed my tacky glue and went to work.
For the finishing touches I took a pair of 80's style sunglasses and a red finger laser light and attached the laser light to the side of the glasses with sticky back velcro. I found a jacket in his size on amazon and bought a toy shot gun. A little spike of the hair and we were done!
Off he went to trick or treat. All the grown ups knew exactly who he was, his friends had no clue! The best part was he would knock on a door and when someone would open it he would say, " I'm looking for Sara Conner" and then after getting his treat he would say, " I'll be back" It was too funny!
I wonder what he will have me create for him next year? I guess it will all depend on what old movies my husband will be showing him next!
Hope everyone had a fun Hallowen!
Thursday, September 4, 2014
Curiouser and Curiouser
I know who I was when I got up this morning, but I think I must have been changed several times since then. Lewis Carroll.
That is one of my favorite quotes from one of my favorite fairy tales, "Alice and Wonderland". Today I finished my latest art piece called, "Curiouser and Curiouser".
.JPG)
Don't mind my messy table! I normally will take a picture and crop it so that I can create prints but because the wood substrate I used was curved I couldn't get a clean line without cutting off some part of the piece. So I started to play with it in Photoshop. My skills in Photoshop have come a long way but I still have a long way to go. I usually play with the color and contrast but while messing around trying to figure out how to cut out the background while leaving the picture in tact I discovered a happy accident! So after several changes I have created a fun print of "Curiouser and Curiouser".
 I think Alice might have been hanging out with the Cheshire Cat! If you like the print it will be available in my Etsy shop. If interested in the original please contact me.
I had a lot of fun creating Alice, thanks for checking out what I have been up to.
That is one of my favorite quotes from one of my favorite fairy tales, "Alice and Wonderland". Today I finished my latest art piece called, "Curiouser and Curiouser".
Don't mind my messy table! I normally will take a picture and crop it so that I can create prints but because the wood substrate I used was curved I couldn't get a clean line without cutting off some part of the piece. So I started to play with it in Photoshop. My skills in Photoshop have come a long way but I still have a long way to go. I usually play with the color and contrast but while messing around trying to figure out how to cut out the background while leaving the picture in tact I discovered a happy accident! So after several changes I have created a fun print of "Curiouser and Curiouser".
I had a lot of fun creating Alice, thanks for checking out what I have been up to.
Subscribe to:
Posts (Atom)